In this how to guide we show you how to perspective transform using Imagemagick for floor tiles layout. Imagemagick has inbuilt method to create perspective images using -distort, but they are more CPU and memory consuming, also take more time . Here is our method that takes extra few steps, but lightweight in resource.
Step 1: Create tiled image with imagemagick ➥
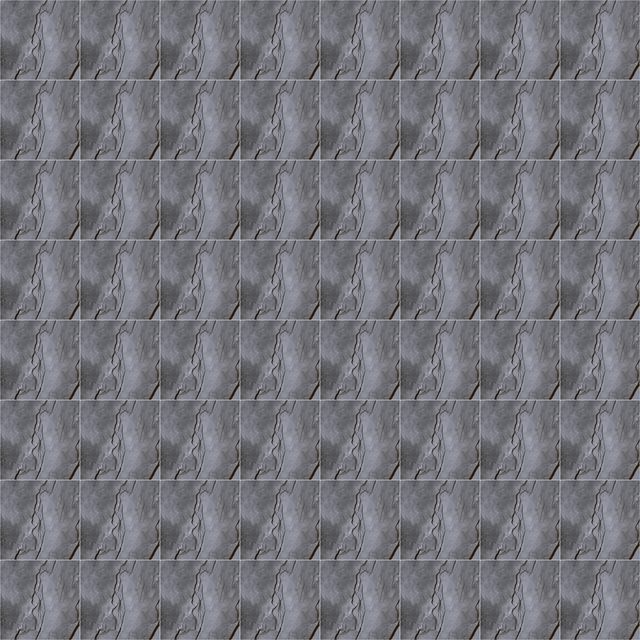
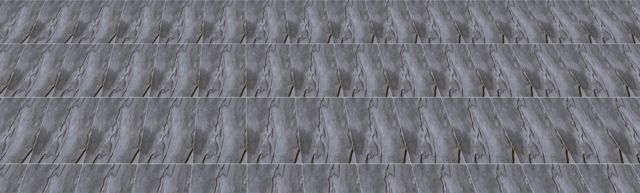
In this step we take below single image and tile it to a NxM matrix size.
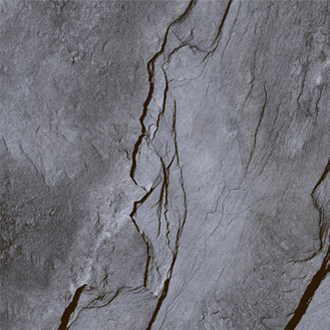
magick montage in.png -duplicate 63 -tile 8x8 -border 1 -geometry +0+0 out1.png
In the above command we are telling Imagemagick to crete a tile matrix of size 8x8. -tile 8x8 expects 8x8=64 input file, -duplicate 63 parameter makes it easy to supply input image by duplicating the input file in.png
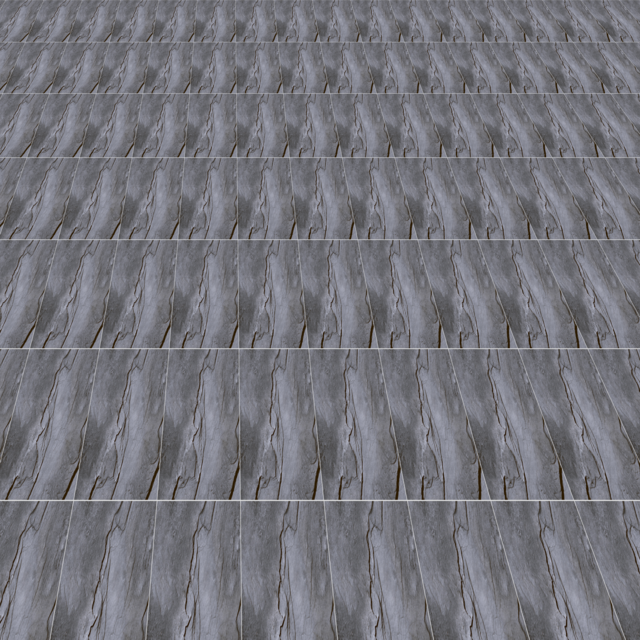
Step 3: Resize and crop the image to size of our background ➥
magick out2.png -geometry +0+0 -gravity northwest -resize 2000x950^ -crop 1920x580+0+0 out3.png
In this step we resize from previous step, this produces perspective appearance to the tiled floor. Nearest tiles are large in size and farthest tiles are smaller. and finally crop the images to the size of our background.
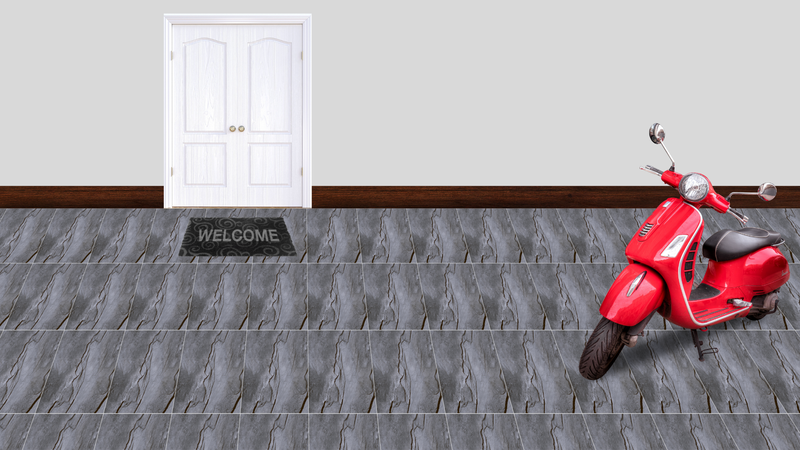
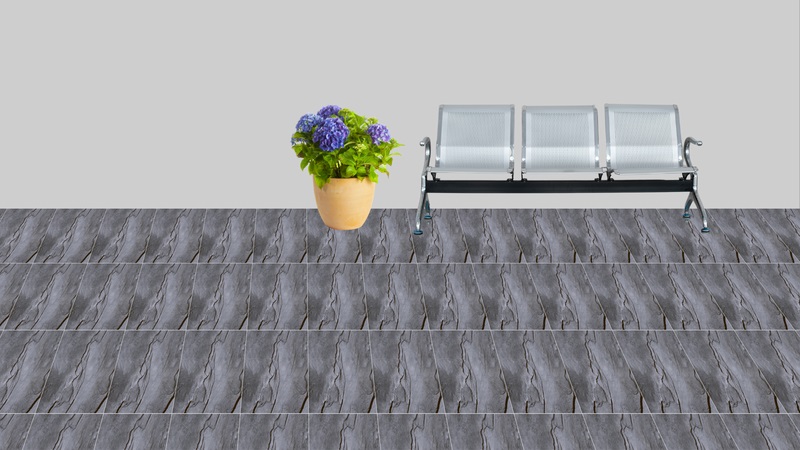
Step 4: Composite Background with perspective transformed tile floor ➥
magick -size 1920x1080 xc:darkgrey out3.png -gravity northwest -geometry +0+500 -composite outdoor-1.png -composite out_final.png
First we set the canvas size and color -size 1920x1080 xc:darkgrey. Next composite the output image from previous step out3.png -gravity northwest -geometry +0+500 -composite. Finally composite our background image and save the output. background.png -composite out_final.png.
You can download the semi transparent background image here.
Here is the final result, which is very satisfactory and our client is also very happy with the final result.

